
Back when in high school, I took two classes that changed my life. The first was an art class, and that lead me to a career in the art field. The second was a drafting class. Little did I know the drafting class would be just as important. Many drafting classes later, I credit that with teaching me how to measure and mark wood more than anything I learned in my wood technology classes.
Mark with a Knife, Pencil, or Crayon?
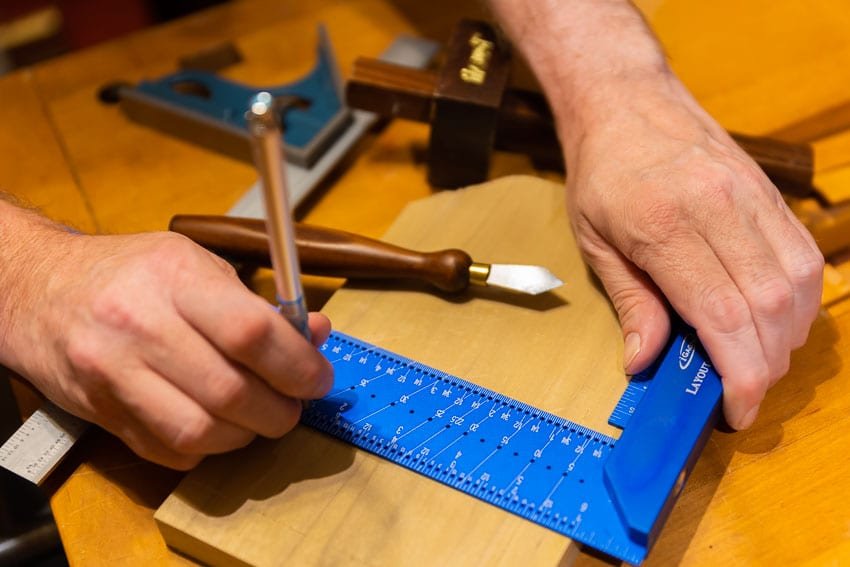
For ultra-precision when measuring and marking wood, don’t use a pencil. Use a utility knife to mark wood instead. A sharp pocket knife with a small blade or a special marking knife explicitly designed for this purpose works as well. For everyday marking on wood, I use a 0.7 mm mechanical pencil. The lead on a 0.5 mm mechanical pencil is a little too fragile. It will break too much, and a 0.9 mm lead is a little too thick. I keep a 0.9 mm pencil around for rough, unfinished wood. For extremely rough wood, including the bark, use a lumber crayon. Sharpie markers also work well on wood. Just be aware they can soak into the wood and ruin any sort of finish you apply later.

Measuring and Marking Plywood
Let’s start with a sheet of plywood. On that sheet, I want to cut a piece off that measures exactly 24 x 48 inches. This assumes the factory edges are correct. In the drawing below, I demonstrate how I make the plywood with three crows feet. A crow’s foot is a triangular mark where the two points come together at a precise point. This location is the point you are trying to measure, 24” in this case.

I draw three crow’s feet to satisfy the old axioms “Measure twice and cut once.” If I make just two marks and mismeasure on one of them, I have just ruined the plywood when I cut it. When if make three marks and mismeasure one of them; I will instantly know it because one will be out of line. When I draw my line or put my Festool TSC 55 KEB track saw on the marks, they should all three line up perfectly. Part of accurate measuring and marking is setting yourself up so you don’t make costly mistakes.


Put an X on the Waste Side of Your Cut
When I draw my connecting line, I want to put an X on the waste side of the line. That’s the side I am planning to “let fall”. If I don’t mark it, I may get distracted and accidentally cut on the wrong side. This wastes both material and money. With an X on the waste side of the line, I know to always put my saw kerf on that side.

Measure and Mark Plywood to Minimize Waste
Now suppose have a new piece of plywood and need to cut three panels 32 x 40 inches. For this exercise, we’ll ignore the saw kerfs. The direction I lay out my lines determines whether or not I can fit all three pieces in one sheet. In the first example below, I was only able to get two panels out of one sheet. In the second, I fit all three panels. Always plan your cuts first before you grab your saw!

Just as when planning your cuts in plywood, it pays to plan your cuts in dimensional lumber. In the first example below I was able to get all the wood in the cut list. In the second example, I was not.

One tip is to always start with the longest pieces and work your way to the smallest pieces. Do this instead of starting from the top of your list and going to the bottom.

Hey, where is that last 8 foot board in the example above? Starting at the top of the cut list means someone has to go back to the home center to pick up one more piece of material!
Finding the Center of Rectangular Objects
Continuing with our mental measuring and marking exercise, let’s imagine we took our sheet of plywood and cut it up into rectangles of various sizes. We need to find the precise center of each one. The easiest way involves drawing a diagonal connecting the corners. It doesn’t matter what shape the rectangle is, the center will always be where the two lines meet.
In other words, X marks the spot!

Suppose we found a piece of plywood and we want to make sure it is square before we use it. We could go all the way back to our truck and get a framing square or we could measure the diagonals as drawn above. The only way both diagonal measurements will be the same is if all four corners of your piece of plywood are at perfect 90-degree angles.
Measuring and Marking with the 3-4-5 Triangle
Perhaps you are have found a piece of plywood and you need to check if it is square but all you have is a box of child’s 12” rulers. Can you check to see the corners are still square? With the 3-4-5 Triangle, you can. In simplest terms any triangle whose sides are the ratio 3-4-5. In other words 3” on one side, 4” on the other and 5” on the final leg (that could be feet or meters as well, not just inches). Since they are proportional, we can multiply a number times all three sides to make the triangle bigger for more accuracy. For instance, if we use 3. We get 9” on one side, 12” on the other and 15” on the final leg. This is something we can handle with our rulers.

Finding the Center of Odd Shapes
Sometimes you run across a situation where a tape measure, ruler, laser or another measuring device will not work because what you are measuring is curved or irregular. To tackle this problem, I rely on string such as mason’s line or tarred bank line. To find the length of an irregular or curved object, run the string around the contour. Then measure the length of the string to find the total distance.
If you don’t have your tape measure with you and still need to find the center. Start by folding the string in half and run the string back around the contour. When you run out, you will be at the center. If you fold the string in half again you will find the 1/4 mark.
This trick of folding the string in half works with a tape measure as well when you need to do some quick math. If you measure something with a tape measure and need to find the center, fold the tape measure in half and look at the center of the fold to see what half the distance is. I have found this accurate enough in most cases unless I need to be precisely in the center.
Using a Story Pole
In college, I was trained as a cabinetmaker as my minor. My teachers used something called a story pole which is a long wooden 1” x 2”. The length can vary depending on the project. On this, you mark all the critical measurements of the cabinets. The idea is that if all your cabinet doors are supposed to be 24-1/2 inches wide, you could measure that every time but there is a chance that you might be off on some of them. Instead you take the story pole and mark 24-1/2 inches on it and write “cabinet doors”. Now use that to measure all your cabinet doors. Even if it is off a little, at least all the doors will be off the exact same amount so it won’t be noticeable.
The story pole has all your critical measurements. Mark everything that needs to be repeated- styles, rails, toe kick, etc. When you finish with the project, the story pole tells the “story” of the project through all the measurements and marks you have made on it.
If you’re doing it for a client, they may even enjoy being able to keep the pole when you’re done.

Center-Finding Ruler
There are a number of specialized measuring and marking tools that will make life easier, though as you will see later on, they are not necessary. The first is a center-finding ruler. This is a ruler that starts with zero (0″) in the middle and goes out equally from there. If you need to find the center, line up the same measurement on both the right and left sides of the ruler. Once you do that, then the zero mark will at the exact center.

Marking Gauge
The second tool is a marking gauge which is a traditional woodworking tool. It consists of a long beam called a stem which is usually about 8″ or 9″ long. Surrounding that is a movable guide fence that you move against the wood. Protruding from the end of the stem is the spur, a short spike that is used to scribe a line into the wood. I can write an entire article on the marking gauge, you can find a fantastic video on it by Stumpy Nubs.

Sliding T-Bevel or Bevel Gauge
A sliding T-bevel, also known as a bevel gauge is a device used to measuring and transferring angles to the wood. It is often paired with a simple protractor like you used in elementary school. It consist of a movable wingnut or thumb screw, a beam, and a stock. The stock is placed against the wood, and the beam is moved to the angle you need. You then tighten the thumb screw to lock the angle in place and you can transfer it to another piece or wood, measure it, scribe it, etc.

Measure and marking wood is a skill you will get better at over the years because you will find tricks of your own. Pay attention to the old guys on the jobsite. They know a multitude of tricks for different situations, and most are glad to pass on their knowledge.
If you have some tips of your own, feel free to leave them in the comments below. Thanks for reading!